This is the final part of my series on how to be a success as a photographer. In past blog articles I wrote about working with your clients, providing them with what they want and equipment choices. This week I am going to write about some more tools and training. I am going to assume you are working with a digital camera like me.
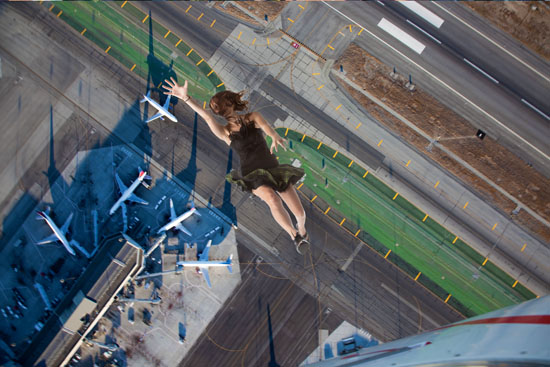
The worst thing any photographer can ever say is “No problem, I will fix it in Photoshop.” I can only wish every time a photographer says this they get a shocked by their camera – ZAP! Yes Photoshop is a great tool for photographers, but it should be used to enhance a good photograph. Removal of stray hairs or getting rid of blemishes are good uses for it. Even using the adobe color picker to airbrush out some background details is fine, but going overboard will make the photo look unrealistic. You need to get the shot right in the camera first or it’s like putting pants on a pig, it’s still a pig.
You may have noticed I said Photoshop. There are several other good programs available that you can also use such as Gimp or Paintshop. The challenge with these programs is when the time comes to share your work or even get training your options will be limited. In the end you will need a good program to retouch your images. Or you can hire a service to do this for you. This can be a good choice as you spend your time taking photos and not sitting in front of the computer.
The next question I get is, “What plug-ins should i buy?” Plug-ins are those add-ons to Photoshop that automate and add features. None are actually needed to do standard retouching. You can achieve what you need to do without them. Some are nice to have as you have revenues, as they can save time. If you must spend some money, I suggest looking at a sharpening tool and a skin softener. Learn to use them with a lite touch. You will hear the term selective / masking in Photoshop. You can download trials from almost every major vendor. It is a matter of tasted as to which works best for you.
Learn to create or find some actions to do your work. Actions are an automated series of steps in Photoshop that are processed very quickly. I have about four actions that I use daily which I have created. These are about fifteen to twenty steps long. What would take me over ten minutes to do manually, the action will do in about a minute. For example, I use an action to take a two page album spread and cut it into two images, adjusting the image for the gutter (area where pages come together in the center of the book) so the spread looks good when the book is opened.
If you can’t write your own actions, look on-line for them using one of your favorite search engines. One good action site is atncentral.com – Lots of free actions. Even if you don’t use them, you can see how they were constructed and learn some things about Photoshop can be used. Assign the ones you like use to function keys to save time when you want to run them. You can even use these in batch processes to do a hundred images at once – great for weddings.
Get some training on using Photoshop. Attend classes, get a book, read magazine articles, or even on-line. Lots of good free Photoshop videos are available on YouTube. Photoshop is very powerful and some basic training will go a long way towards learning how to use it. There are plenty of training facilities like Acuity Training, which offer hands-on practice for Photoshop and help in flexing your creative muscles.
Also, the one tool you should get is a graphic tablet, such as those made by Wacom. They make a small tablet that does everything a photographer needs – the Bamboo is about $80. It will save you huge amounts of time and improve accuracy once get used to using it. Later you may wish to upgrade to a larger one, but I have both and have found the small one is just as good or possibly better for my photo retouching work.
The other big time saver I cannot stress enough is learning the keyboard shortcuts in Photoshop. This will save you so much time you can’t imagine. It doesn’t take long to learn either. Here’s how you can learn them quickly. Each time you need to click on a tool or menu item, look at the short cut and then use it instead of clicking. The items which you use a lot you will learn in a very short period of time.
Once again I’ve gotten long a bit winded in this blog article. Feel free to drop me a line with any questions you might have. For those who are in the Phoenix area I do teach retouching with Photoshop.
Orcatek Photography, Phoenix – Arizona
Photography Studio Rental in Phoenix


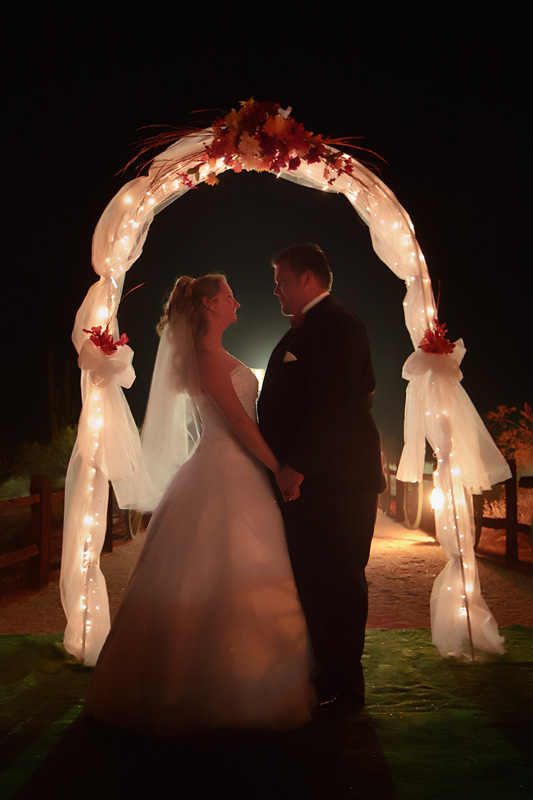
 As the night went on I took advantage of the bonfires and decorative lighting to create some fantastic images. As a photographer, I love it when the environment gives me so many opportunities to create great and unique images for a client.


